Saturday, January 26, 2019

Hats, photos, and my address book

So, I've made a LOT of hats.  About 70 of them, if you count the headscarves. 

One thing that I do, is ask that if I give someone a hat, that I get a photo of the person, in the hat that I made for them, for my Ravelry project photos.  Fortunately, my family is happy to oblige. :-)

What I also do, is use that photo of them in my contacts/address book, so that when they call me, I see them wearing my hat on my phone screen. Like this:

That is my husband, modeling his Jayne Cobb hat (Firefly fans will know what I'm talking about) and he's is scowling in an entirely Jayne-appropriate manner.

Here are a few others:

The one exception is the picture of me (in the upper right).  I didn't make that hat. Chris did (though I felted it).

My granddaughter is too young for her own contact entry, but if she were, I'd use this photo (because she's a cutie, and this is my favorite photo of her that I've taken):


Saturday, January 19, 2019

Periodicity 12: Appendix D - Featured Project Index

Here's an alphabetized list of featured variegation projects that I referenced in articles, or featured in stand-alone articles, not including my own.  I link to the Ravelry project page, or if there is no project associated with the image, I link to the yarnie's profile page.  Check back regularly to see additions

AJ's Prismatic Scarf
Jenny/JennyXan's Electricity
Nicole/Grudgemom's Little Miss Myra's Sweater
Kris/Kristoemily's Wingspan
Rebecca/itgirl's Pool-y Mom Socks
Nathalie/Skeincharmer's Brown-and-Cream Sweater
Susi/SusiJB's Boden

Featured Variegation Project - AJ's Prismatic Scarf

Used with permission. © AJ/amewsing
Here's some serendipity: AJ did no planning at all; she just cast on and started knitting, hoping it would work out.  And, it did, in a wonderfully magical manner. Her gauge, row length, and the color repeats in the yarn itself interacted in a lovely way.


Used with permission. © AJ/amewsing

... I just cast on and starting knitting, hoping that something interesting would happen. The ribbed edging where it went all rainbow-y on its own is my favorite part. I’m probably addicted to variegated yarns. Just a bit.
Finding the best blank canvas for variegated yarn involves making sure you pick a project that’s plain enough that the yarn can do most of the work for you. Fancy stitch patterns will get lost. The neat thing is, even with mindless, simple knitting, the wildness of the yarn will keep the project from being too boring, at least in my experience. The pattern I used for my Prismatic scarf was a great choice in that it’s got some uncomplicated lace in there to balance out the simpler parts of the pattern. Really loved making it! Lonnnnng rows, though.
Also, if you’re making something and you’re getting pooling that isn’t quite what you are after, changing your gauge can make a huge difference (but sometimes you’ll need to find another pattern entirely).
For more photos, see AJ's project: https://www.ravelry.com/projects/amewsing/28-row-scarf-7
The pattern can be found here:  https://www.ravelry.com/patterns/library/28-row-scarf

Here's the skein before she knitted it up:
Used with permission. © AJ/amewsing

PomPom Magic - Part II: Going Dotty and Losing Your Marbles


This is part II of my pompom series. Part I (stripes) is here.

Polka-dots are far easier to understand than stripes, but also much more fiddly, but the results can be pretty spectacular.

Notions:
Pom-pom maker (I like the Clover ones, and have them in ever size they offer), but a cardboard doughnut will work. Yarn in two colors, scissors.

Basic advice for both Dotty and Marbled:
Do NOT cut the yarns while wrapping alternating colors, or even when changing layers.  This is so important it bears repeating:  Do not cut your yarns until you are ready to cut the entire pompom.

Yes, the sections will be connected, and that connection strand will be covered by future layers, but that's OK. That strand will be cut and trimmed away when you cut the pompom. Believe me, it will save you a lot of headaches, while you try and hold your short color sections in place while you get them covered by the next layer.

How many wraps for the dots?
As with stripe thickness, this will take some trial-and-error, and it depends on how big you want the dots to be.  More wraps will make bigger dots, but you'll wind up with fewer of them.
subsequent layer will "fill in" at the sides.

Can I use more than two colors?
Sure! I would recommend keeping the background color the same though.  Or not. It's totally possible to combine stripes and dots. 

Going dotty:
Polka-dotted pompoms are made in layers (as with stripes), but the main difference is that you alternate dot layers with solid layers, and you do them longitudinally, wrapping all the way across the arc.
  1. Solid background layer - wrap all the way across the arc, with a thin layer (maybe two strands deep)
  2. Dot layer: Create a dot at one side of the arc, maybe 5 or so wraps in a clump. Then leave a gap, and create another, then another, for a total of 4 or 5.
  3. Solid background layer - wrap all the way across the arc, covering the small dot sections with a thin layer (maybe two strands deep), and filling in between them, to create an even-looking arc.
  4. If making a really large pompom, you might repeat 3 and 4 once or perhaps twice  If you do, off-set the dots from their position on the previous dot layer (see 2nd and 4th images below).
  5. Repeat 1-4 for the opposite side.


Losing your marbles:
This was an attempt to create a checkerboard, but it didn't work at all, but I liked how it looked anyway.  It's also created longitudinally (wrapping all the way across).
  1. Create a layer by alternating 5 wraps of each color. So, 5 wraps of one color, then 5 wraps of the other, all the way across.  DO NOT CUT.
  2. Come back the way you came, repeating step one, but offsetting the colors.  So, cover the MC with the CC, and vice-versa. After the first layer, I tended to do all one color  then the other (guessing a little where to start and stop), but you can continue to alternate as you go, if you prefer.
  3. Repeat 1 and 2 as needed.
  4. On the other half, ensure you do the same number of layers as with the first half.  And, ensure you do it in the opposite order.  So, if you started with the MC, then start with the CC this time. 


Recommended Tools:
Here are my favorites.   If someone has the self-control to only get one size, I'd advise getting the "large" set (65 and 85 mm; the middle image, below).  I use the 65 mm by far the most.


Clover also makes an extra-small set, with 20 and 25mm diameters (.75" and 1").

PomPom Magic - Part I: Stripes


Photo  © Cathy Weeks

When I was designing my BB-8 hat (which is STILL not ready for publication), I figured out how to do some pretty cool things with pompoms.  Like create stripes and layers, and even polka-dots.

It's surprisingly easy to do, but also kind of unintuitive, in part because it feels like you are doing it out of order.  Here's the trick:  You work from the top down for the first half, then from the bottom up, for the second half.  But .... I'm getting ahead of myself. 

Notions:
Pom-pom maker (I like the Clover ones, and have them in ever size they offer), but a cardboard doughnut will work. Yarn in several colors, scissors.

Making Pompoms:
I'm assuming you know how to make them already.  If you don't, check out the pages below, and then make a couple of pompoms out of scrap yarn for practice.

https://www.thesprucecrafts.com/how-to-make-pom-poms-2116513
https://www.allaboutami.com/cloverpompommaker/

Making stripes - A Tale of Two Methods:
There are two basic ways to create stripes - and this is going to sound rather like a geography class.  You can make stripes along the lines of longitude (easier to make, but harder to control), or you can make stripes along the lines of latitude (confusing, but much easier to control things like stripe thickness).

Latitude:
Ok, the thing to remember is that the strands closest to the ties go around the "equator" and the strands farthest away from the ties form the "poles".   What that means is that the yarn color you wind first will become the pole, and you cover it up with yarn that becomes the equator.   You also need to account for the number of stripes - even numbers are easier to work with.  Half the yarn colors go on each half of the maker.  If you are using an odd number, finish each half with a thinner layer of the same color (it will form the middle stripe - the "tropics" as it were).

When you wrap, you will put your first layer down just in the center of the arc.  Then you cover that with the next layer, and fill in a little bit on either side (not shown is the green layer). Like this:

Photo © Cathy Weeks

Here's a pretty ugly hand-drawn diagram that may also help:
Top: the green would fully cover the red, and the blue would
cover the green.

Now, it's hard to represent colors that are in layers.  But in the top image of the diagram, the red would be fully covered by the green, and the green would be fully covered by the blue. 

Now, here's the hard part: When doing the first half, you work top down. When doing the second half you work bottom up. Now, this only matters, if you care about the stripe order. If the order doesn't matter, then just have some fun (and just remember to end both halves with a thinner stripe of the same color, if you have an odd number). If the order does matter, here's a guide for you, using rainbow order (Red-Orange-Yellow-Green-Indigo-Violet):


Color orderThree StripesFour StripesFive StripesSix StripesSeven Stripes
Top half
1RedRedRedRedRed
2Orange (thin)OrangeOrangeOrangeOrange
3Yellow (thin)YellowYellow
4Green (thin)
Bottom half
1YellowGreenBlueVioletViolet
2Orange (thin)YellowGreenBlueIndigo
3Yellow (thin)GreenBlue
4Green (thin)


How thick do you make the stripes?
This will take some trial-and-error.   When I designed my BB-8 hat, I actually counted the wraps for several different sizes. But for this, just have some fun and be creative.   There are a few rules-of-thumb to remember, though:

  • The "south pole" has a tendency to be hidden, as it is squished against the top of the hat. Make the first color on what will be the bottom half a little thicker to compensate.  
  • If aiming for equal thickness stripes and using an odd number, make the middle band (ie, the last color on each half) thinner, about half the thickness of the other stripes.  The two halves will come together and make a normal-width stripe. 
  • If aiming for a wider middle band, and using an odd number, then make the last stripe on each half the same thickness as the others.

In a fit of over-enthusiasm, I made a TWELVE-color pompom, six colors on each side:


Longitude
To make longitudinal stripes, wrap an even layer all the way across the arc, and each color will cover the one below.  With these stripes you need to make the stripes in each half about the same thickness, and in the same order, otherwise the stripes will not match up along the meridians.   So, if you want a 4-color rainbow, wrap each layer all the way across, red, yellow, green, blue. Then flip the maker around, and red, yellow, green blue again.

Can you combine methods?  Yes!  Here's an example:


Top: Latitude. Lower Left: Longitude. Lower Right: Shows how they interact
(left side shows the green longitude, meeting the yellow latitude equator on the right).

Other tips and tricks:

  • If you are repeating the yarn color, either in the same half, or in the other  half, don't cut it. Just drag the tail along.  These tails will get cut later, and trimmed to the right length.  Believe me, this is MUCH less of a headache (especially if you're doing a polka-dotted one - more on that later).  Only cut the yarn if you are actually done with it.
  • If you tie it in the wrong place, no matter. Just thread your yarn tails onto a darning needle, stab it into the center of the pom-pom and bring it out where you want it.  

Recommended Tools:
I've made pompoms from cardboard doughnuts, forks, even my hand. I've gotten good results from all of them, but I think the best results come from the cardboard doughnuts and the plastic makers.  And for convenience and ease of wrapping the yarn, nothing beats the plastic makers.  Besides, I'm a total gadget-whore.

As for size, I have all of them.  But, if someone is getting just one, I'd advise getting the "large" set (65 and 85 mm; the middle image, below).  I use the 65 mm by far the most.  The biggest one is a blast, but it makes a pom-pom roughly the size of a newborn's head, and takes about 75 grams of yarn all by itself. If you are planning a hat with that one, you'll need an extra skein of yarn.


Clover also makes an extra-small set, with 20 and 25mm diameters (.75" and 1").

Ready for some polka-dots?  See Part II of my pompom series.

Sunday, January 13, 2019

Periodicity 2: Pattern Recognition

Infinity woman. Permission: used under a CC0 license.

I’m going to deviate from yarn crafts for a moment and talk about art in general.

There’s a concept that applies to all arts and crafts:

  • 1x is a mistake
  • 2x is weird
  • 3x (or more!) is a pattern.
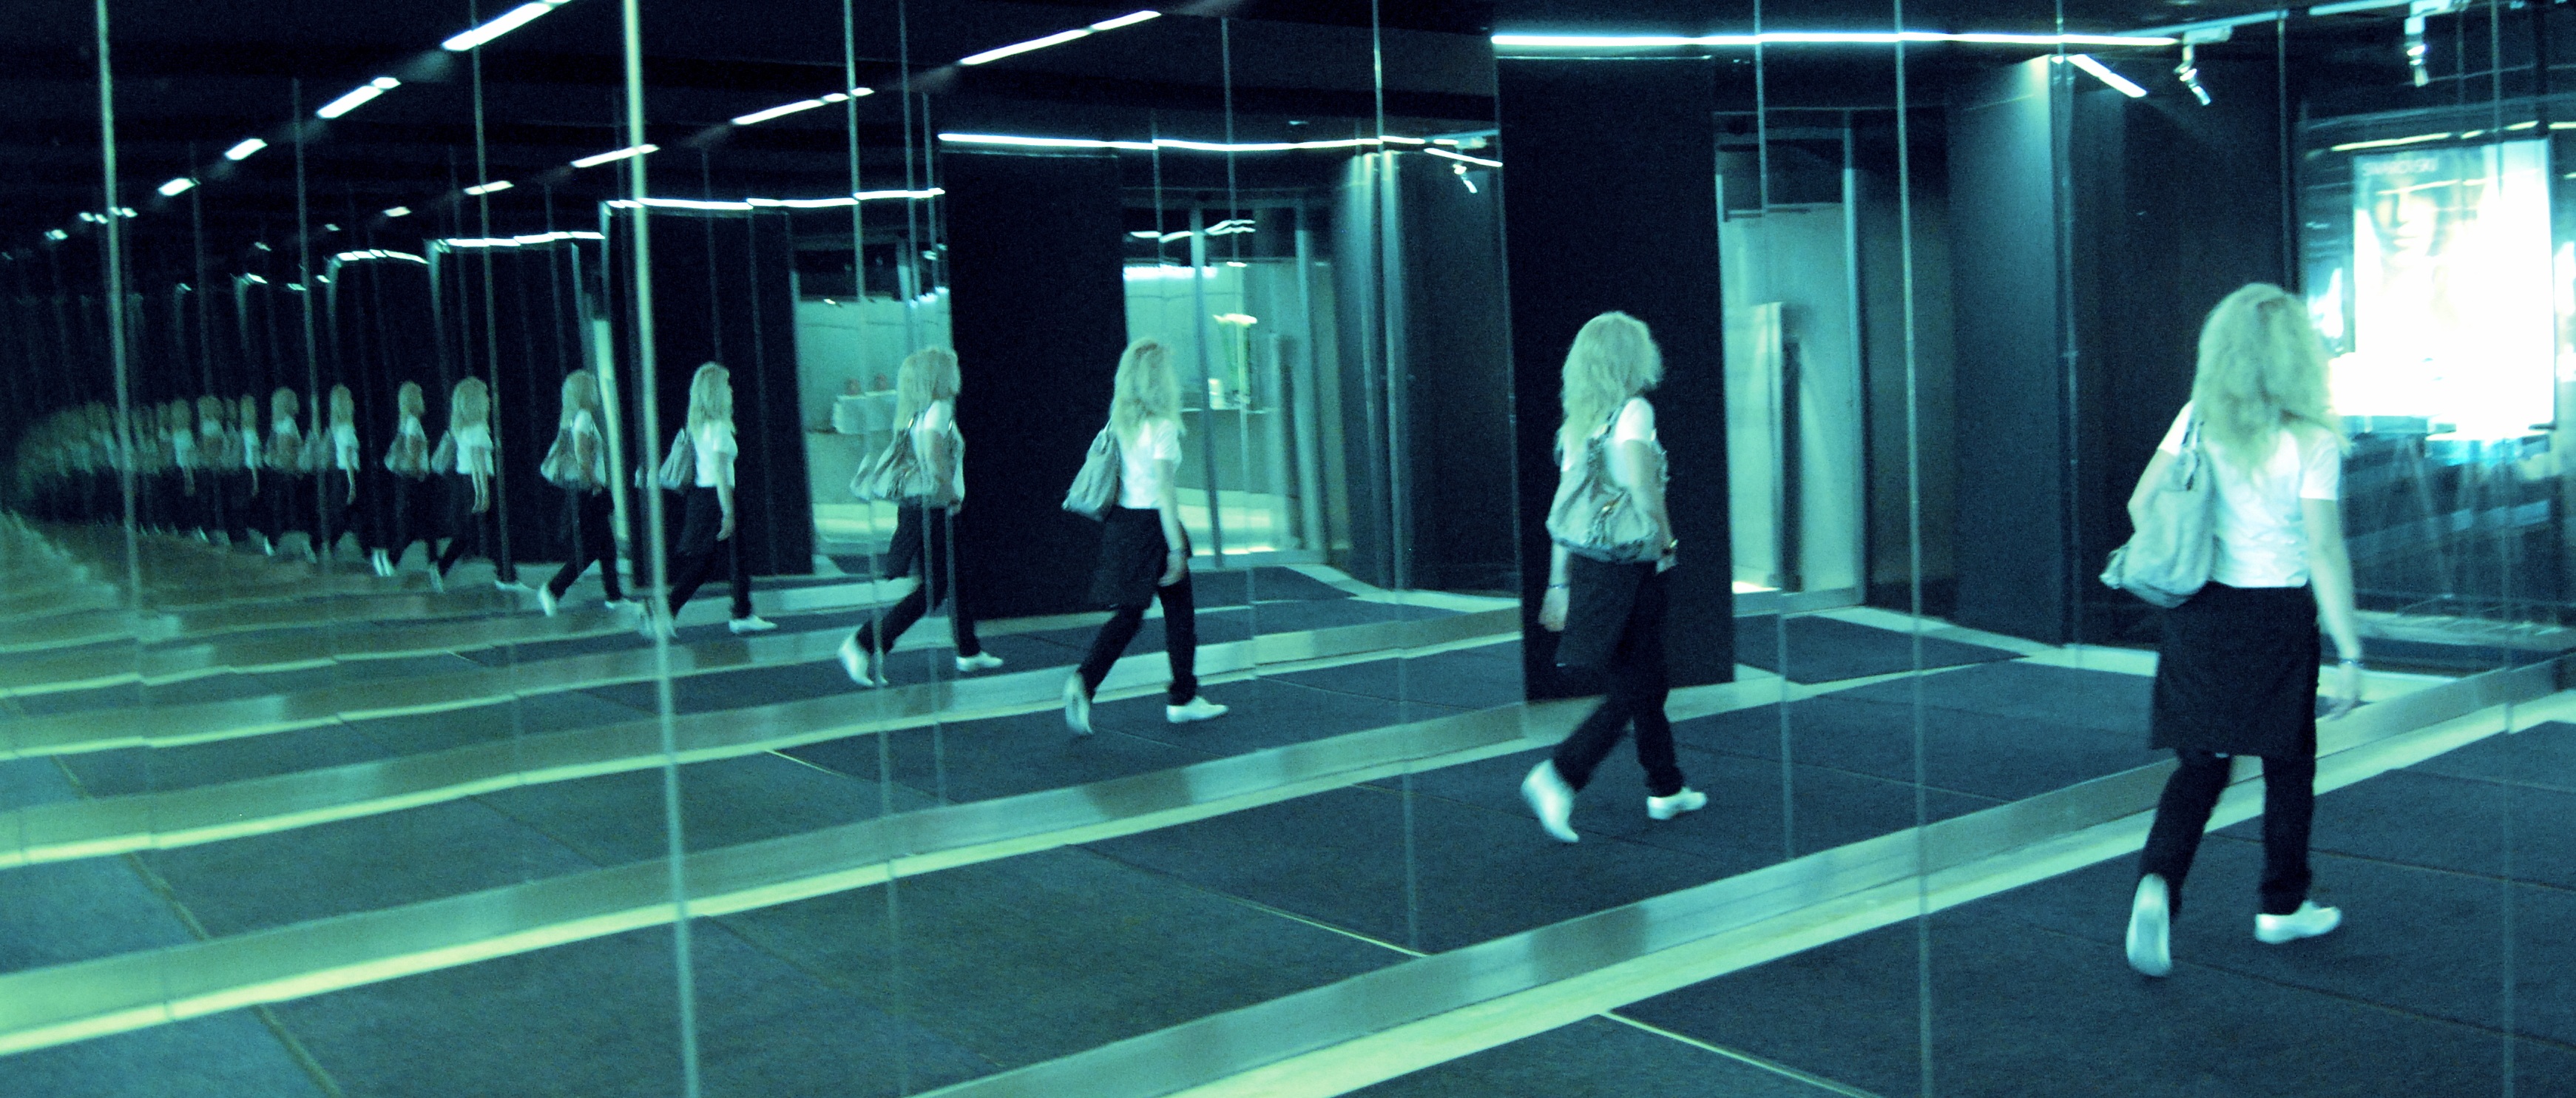
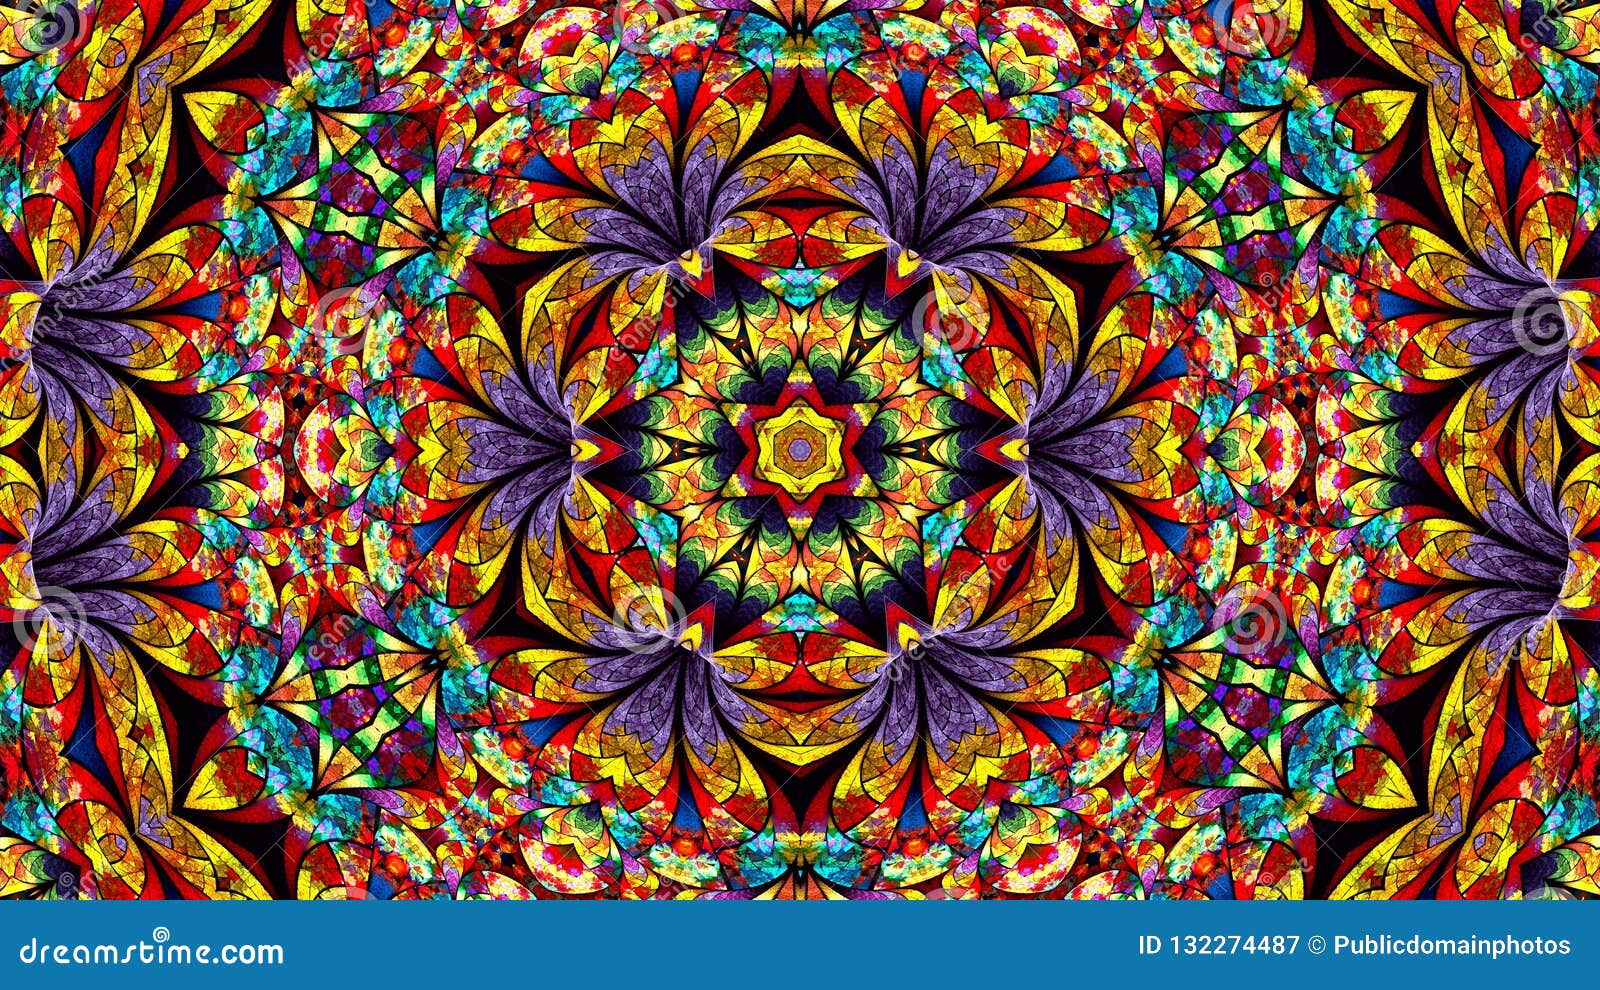
Repetition creates motifs, or design features.  The human brain is hardwired to search for patterns, and there is a tendency to find rhythmic repetition pleasing.  Music is one example of that.  But it holds true visually as well.  Children (and adults) have been fascinated with kaleidoscopes, and infinity mirrors for as long as we’ve had the ability to create them.

Kaleidoscope. Permission: Public domain

Grouped paintings (triptychs for example) are often prettier together than when viewed separately, and the separation between panels becomes part of the work of art.  (Remember that bit about the separation - it's important later).

Take a look at this one:

The Crucifixion by Rogier van der Weyden, 1445. Permission: Public domain

Look at the work as a whole, and evaluate the story being depicted. Now, one at a time, look at each panel alone (hold your hands up over the screen and block the panels you don’t want to see).

Notice how you only get part of the story?  Now look at the work as a whole again. See how there are repeated motifs - each panel has at least one dark angel at the top, and has the same shade of red somewhere in it, and the right two panels have blue in the clothing, but the left panel doesn’t - it’s primarily dark and the heaviness helps to balance the much greater red content on the right.

Quilts (hey, at least we are talking about a fiber art now!) are another excellent example of theme  repetition.  Many traditional designs repeat a motif over and over, each one slightly varied.  Go to Google and search for “Sunbonnet Sue Quilt.”  Click on images and scroll down.  Do you see how the repetition with slight difference can be really pleasing to the eye?

Modern quilts (and some traditional ones) may have little, or no repetition in the pieced top - instead, the quilting stitch pattern that holds the layers of the quilt together is repetitive. And often BOTH are.  Even the type of quilt called a “crazy quilt” typically repeats motifs in some manner, as shown here.

Small Sized Silk Crazy Quilt made by Mrs. Brown circa 1890.
Permission: Missouri Historical Society Open Access Policy

What does this have to do with yarn crafts?  I’m glad you asked. :-)

Often, you’ll see discussion among knitters who have made a mistake in their knitting, and someone usually offers up “repeat it and it becomes a design feature.”  And while they are totally right, it’s extraordinarily difficult to deliberately repeat an actual mistake and have it turn out well (and not just look like multiple mistakes).  Possible, yes. Easy, no.  But it’s not really about correcting mistakes, it’s about experiencing the repetition of a motif from the moment you start knitting with variegated yarns.

  • Variegated yarns are themselves a repetition of a motif.   
  • Variegated yarns are in and of themselves a repetition of a motif.   
  • Variegated yarns repeat a color motif.   

The colors repeat rhythmically, in a predictable fashion.  That property is at the HEART of these yarns. 

What makes working with variegated yarns difficult - and yes incredibly exciting and surprising - is that knit and crochet and weaving is ALSO rhythmic and repetitive. And it is the intersection between the rhythmic activity and the rhythmic colors where the magic happens.

So, is it any surprise, that much of the advice to achieve the various effects also involves different forms of repetition?

  • Do you want to break up pooling and mix the colors more?  Alternate skeins every other row or every round or two; or if you’ve only got one skein, knit from both ends.  
  • Do you want to flash the colors?  Easy - repeat the magic number.
  • Do you want to concentrate the colors? Repeat a short rows sequence every time you encounter a certain color 
  • Do you want to pair with a solid?  Stripes, Brioche and slip stitches to the rescue.  

Not all of the techniques involve repetition, but most do.

Back to TOC, or go to Part 3.

Periodicity 1: Introduction

Photo © Cathy Weeks
Periodicity: Variegated Yarns
Or: 
The Yarnie’s Dilemma: How to make a colorful silk purse out of a clown barf sow’s ear


I have a not-so secret obsession: I love variegated yarns.  I’m drawn to them, and I rarely resist their siren-call.

The problem?  They are hard to knit with.  They produce weird fabric that ranges from wonderfully colorful to really, really ugly - a strange, mottled mess that you wouldn’t be caught dead wearing.

And, it’s entirely subjective. Some people love the flickery wash of color, while others hate it. I know of knitters and crocheters who - as much as they love the look of the multi-colored skein of yarn - refuse to buy them because they don't love the fabric they produce.

And because I love the yarns so much, I decided to explore what works and what doesn’t, and did what many yarnies do, and started a thread of Ravelry (you'll need a Ravelry ID to click through):

https://www.ravelry.com/discuss/techniques/3862920/ 

Many, many thanks to those knitters, crocheters, weavers and dyers who filled in the gaps in my knowledge. Thank you all for your considerable time and efforts.

Photo © Cathy Weeks

I hope to accomplish two things with this series:

  1. Help people figure out what to do with variegated yarns to create a fabric they will love.  In other words, help yarnies match a yarn to the right pattern.
  2. Encourage designers to specifically create patterns intended for variegated yarns that really emphasize and utilize the colorful nature of the yarn itself.


Before I get started, I should define some terms.

Yarnie: A person who works with yarn. I am a knitter but yarnies are all one fiber family, with spinners and dyers as the parents, and knitters, crocheters and weavers as the siblings who make fabric using the yarn produced by the parents. I tried to make this series as craft agnostic as possible, as many of the concepts apply across disciplines, though I suspect it will be of least use to weavers.

Variegated:  The dictionary will tell you it just means “multi-colored.”  But in this context, it means a multi-colored yarn that has relatively short sections of two or more colors that repeat in a predictable fashion.   It is not: "self-striping," tonal (two-toned), gradient, marled, tweed or speckled as its main attribute.  If you want to know more about these color types, see the colorful yarns appendix. Variegated yarns may include aspects of the above; gradients, marling, speckles may all be present in a variegated yarn.  And technically speaking, variegates do self-stripe, if the fabric is narrow enough (but more on that later).

A note on personal taste: As you read though this, you’ll almost certainly find yourself cringing at some of “good” items, and really liking some of the “bad” ones.  This is to be expected.  Just know that all photos used are either my own, or I had the permission of the person who made the item.  The purpose of this article is simply to show you what techniques are out there and allow you to chose which ones to use, to make the best of these lovely, difficult yarns.

Photo © Cathy Weeks

Want to keep reading? Back to TOC, or Periodicity 2: Pattern Recognition

Gradient yarn blending, and applying it to a pattern

So, there's this cool technique of yarn color blending where you knit with multiple strands, gradually shifting from one color to another.  Like this:

Photo © Cathy Weeks

The above hat was done by my husband Chris, after he read about the technique somewhere (he does that - reads about a nifty technique and then tries it out to see what it does.  His yarn play is great - I get to see how things work, without the time investment). And because neither he nor I can remember where he first read about it, I'll explain it here.

Gradient yarn blending is done by starting your project with multiple strands (2+) of the same color  yarn, then when it's time to start color-shifting, dropping a strand of the first color, while picking up a strand of a different color, and gradually shifting the proportions from the first yarn to the second.

If A=Aqua and B=Black, imagine the following:

AA (knit 10 rows with 2 strands of aqua)
AB (knit 10 rows with 1 strand of aqua, and 1 strand of black)
BB (knit 10 rows with 2 strands of black)

But, you can do it with more strands, for a more gradual transition:

AAA (knit 8 rows with 3 strands of aqua)
AAB (knit 8 rows with 2 strands of aqua and 1 strand of black)
ABB (knit 8 rows with 1 strand of aqua and 2 strands of black)
BBB (knit 8 rows with 3 strands of black).

The more strands, the more gradual the transition, but also the more bulky the yarn.  Chris did a FOUR strand transition, to make it more gradual yet. Instead of black, he used gray yarn. So:

GGGG
GGGA
GGAA
GAAA
AAAA

In the top-down hat shown above, he did about 2" (5 cm) of each color.  So, he CO about 8 stitches in four strands of gray, and increased about 8 stitches every other round until it was about 24" (61 cm) around. When the hat was about 2" from the CO edge, he dropped one strand of gray, and added one strand of aqua, which meant that he was knitting with 75% gray yarn, and 25% aqua yarn. He did a yarn-color transition every 2" or so, finishing with 4 strands of the blue-green yarn, and a simple rolled-brim edge.

The method worked so well, he offered to make our daughter a hat (it's a good thing she loves hats). She said, “Yes…. in purples, and …. it needs to fit right. With ribbing, not that rolled brim.”

So, he found the purple, lavender, and more gray yarn (I'd appropriated the gray yarn that remained from his first gradient project, so he needed more), and I suggested he start with black as the starting point. Next, I went to my Ravelry favorites and filtered for bulky hats (I LOVE the advanced search features!) and showed him the hats made in bulky yarns that had caught my eye over the years. He narrowed it down to two possibilities, and let her pick the one she liked better.  It turned out to be the Into the Forest Hat pattern by Lisa Seifert:

© M. Sturtevant. Used with permission.


The result was THIS:

Photo © Cathy Weeks

Of my husband and me, I'm the more advanced knitter, but he's the more adventurous (and fearless) knitter, and it really paid off here. The only things I had to do with this hat (other than teaching him to knit years ago) was that I suggested he start with black as the starting color, provided some basic advice on needle size, and ... I sewed on the pom-pom for him.

It's a GORGEOUS hat.  I'm a little jealous that he made it, and not me.  But I'm not the only person who can knit a good hat in this family. :-)

Because there were 4 colors, there were 13 color combinations (B=Black, P=Purple, L=Lavender, and G= Gray). If you want to make that exact hat, you'd have to buy the pattern, then do the rounds in the following colors:

BBBB (Round 0/CO - Round 1)
BBBP (R2-4)
BBPP (R5-7)
BPPP (R8-10)
PPPP (R11-13)
PPPL (R14-16)
PPLL (R17-19)
PLLL (R20-22)
LLLL (R23-25)
LLLG (R26-28)
LLGG (R29-32)
LGGG (R33-39)
GGGG (R40-48)

Some general advice: 
  • Pick patterns that are intended for worsted through super bulky yarns.
  • If knitting with 2 strands of fingering, look at patterns for worsted yarns.
  • If knitting with 3 or 4 strands of fingering, look at patterns for bulky yarns.
  • If knitting with 3 or more strands of worsted, look at patterns for super bulky yarns.
  • If using other weights of yarn (lace, sport, or DK), you'll just have to knit some swatches, and determine your spi (stitches per inch) to figure out what yarn-weight patterns to look for.
  • Expect to knit in a lot of ends ends. Every time you shift colors, you'll weave in the end of the the color you dropped, and the end of the color you started. It gets old after awhile.
  • You do not need to divide each skein into four. Rather, wind into two cakes of approximately equal size, and knit from both ends of the cake.
  • When knitting from both ends, use the inner strands as much as possible to minimize tumbling, which causes the yarn strands to twist around each other.  So, start each strand from the inside of the cake first, and the outer strands last. And when it's time to drop stands, drop from the outside first, then the inside.
  • Another trick, is to have the balls of yarn laying on their sides, and instead of just yanking to free up slack, do two careful pulls. Pull the inner strand from the top of the cake, and pull the outer strand from the bottom.  That also prevents twisting.   Or just pull, and untwist when it's time to drop a yarn.  
  • You'll get the best results if you pick colors that are fairly close together.  Black to a medium-to-dark purple blends almost seamlessly, as does purple to lavender, and lavender to gray (this transition was the most obvious, actually).   

I've gotten a lot of comments on the pom-pom. Here's how you make it.